Congratulations on establishing your virtual office building! Now, let’s personalize it by designing your first office floor.
Here’s what you’ll see when you first click on “Create a New Floor”.Keep reading to make sure you create the floor that best suits your needs.
Step 1. Floor Details #
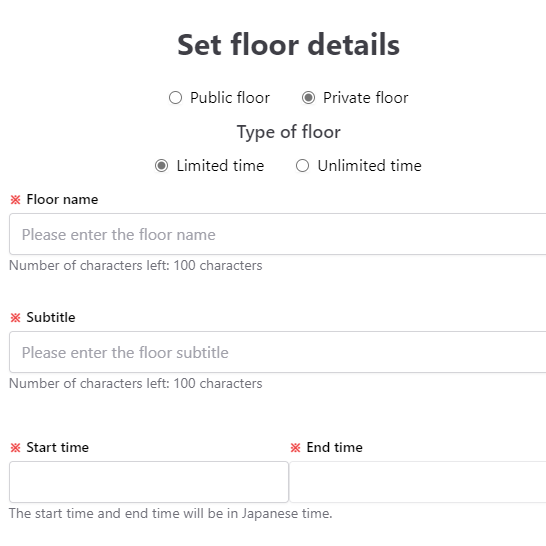
Select your Floor Type
▶Public Floor
Perfect for open invitations – just share the link and invite Guests!
▶Private Floor
Exclusively for registered Team members, ensuring privacy.
▶Event Floor
Ideal for one-off events like seminars or meetings.
These floors are only open during the set duration and will close down once the time is up.
▶Permanent Floor
These are your main floors, free from any time constraints.
Enter the floor details
▶Name
Give your floor a catchy title that resonates with its purpose!
(e.g., “Marketing Hub”, “Collaborative Lounge”).
▶Details
Write a short subtitle for your floor. This helps in setting the tone or theme.
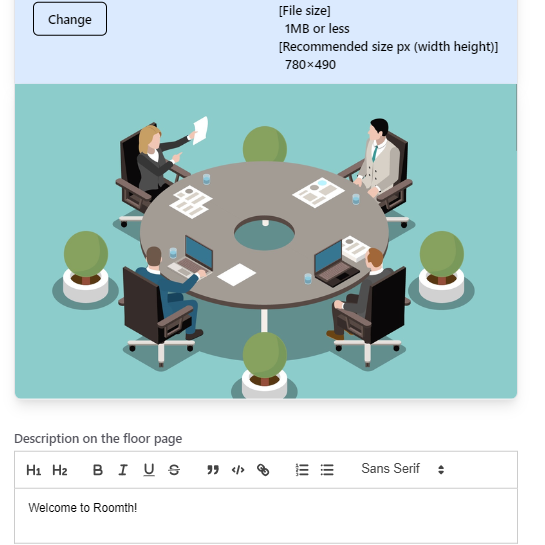
▶Photo
Upload an image that resonates with your company or the floor’s essence. This could be your office’s facade, the reception area, or any symbolic image. This photo will be the first impression for those with an invitation link. You can adjust this anytime in the settings.
▶Description
An optional space for any additional notes or information you want to share about the floor.
Step 2. Floor Map #
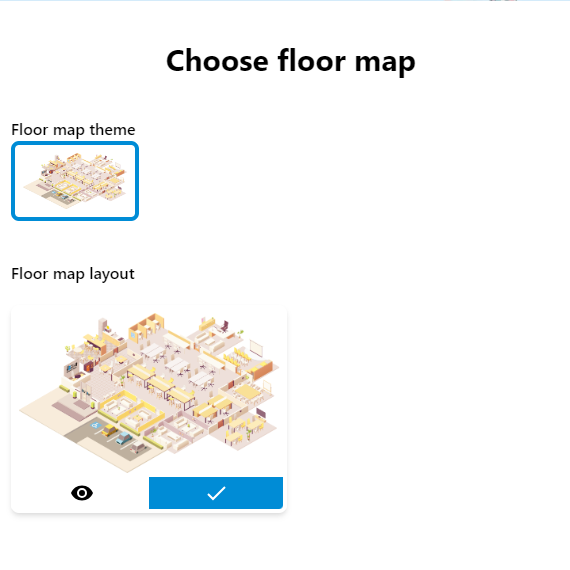
Select a Floor Map
Bring the floor to life with a design that aligns with your vision. Different layouts offer different seating arrangements, so use the preview function to make an informed choice. Tweaks can be made later if needed.
Step 3. Invite Users #
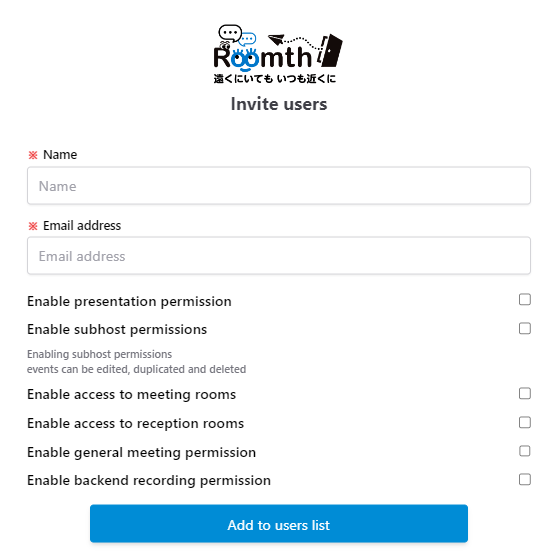
Add your Guests
Here you can add Guests to your Floor. Remember, users you invite here will only have access to this floor. If you want to learn how to register a Team member, find out how here (link)
With the groundwork done, set up your camera and microphone preferences, and step onto your brand-new floor!